Rapid Prototyping Guide: Processes Compared and How to Choose the Right Method for Manufacturing
15 min
- What Is Rapid Prototyping
- Why Rapid Prototyping Matters in Modern Product Development
- Rapid Prototyping Processes Explained
- Rapid Prototyping Materials
- Comparison of Rapid Prototyping Methods
- How to Choose a Rapid Prototyping Method
- Rapid Prototyping Services
- FAQ
What Is Rapid Prototyping
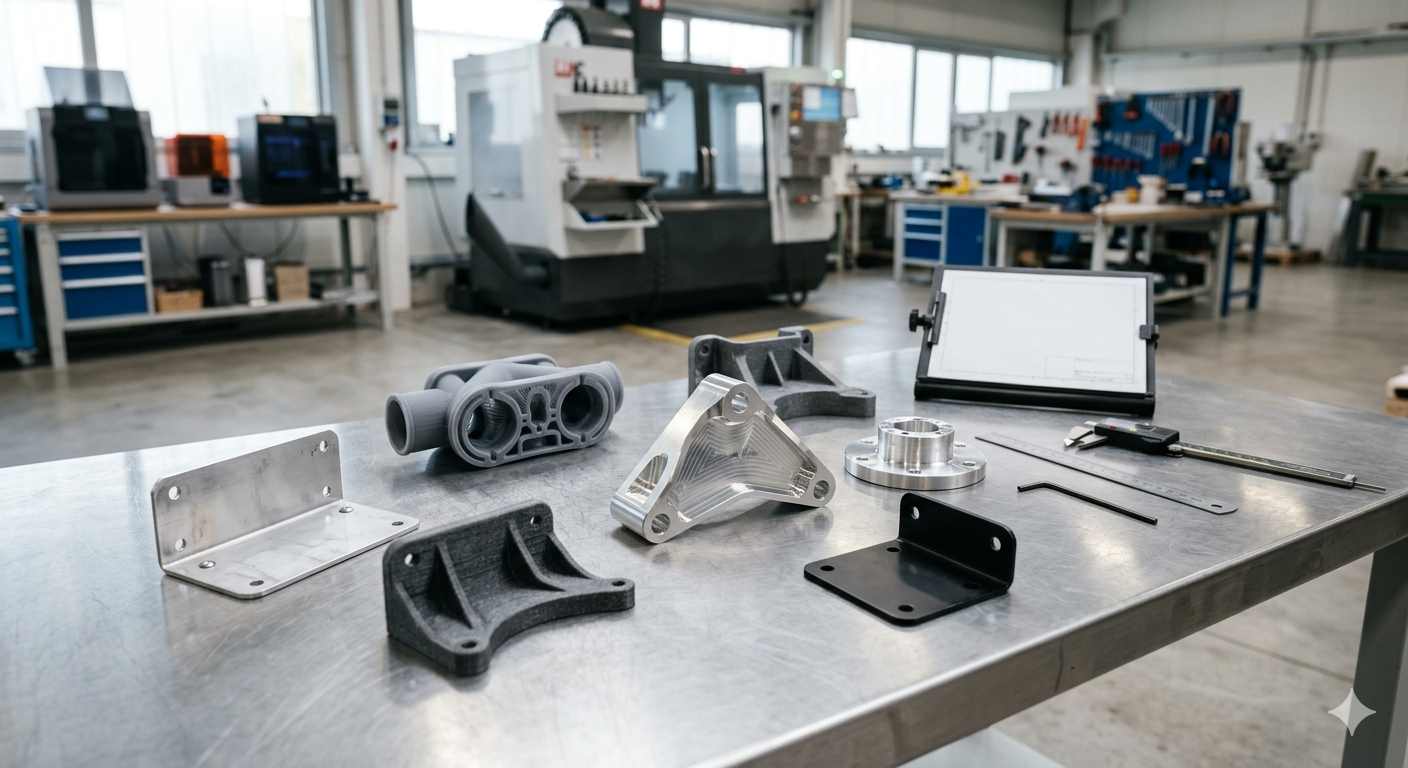
(AI generated) Various rapid prototyping parts including 3D printed, CNC machined, and sheet metal components on a workshop table.
Rapid prototyping is a manufacturing approach that produces physical parts directly from CAD data within hours or days, enabling engineers to quickly validate design, fit, and function before full-scale production.
Modern shops use several methods under this umbrella. 3D printing, CNC machining, and sheet processes all fall into the rapid prototyping manufacturing space, depending on the part.
A 2024 manufacturing and prototyping survey showed most hardware teams run multiple prototype cycles before release. That shift cut late-stage redesign costs by a large margin. One clean prototype now saves weeks later.
“The fastest way to improve a product is to put a physical part on the table early.” — Product engineer, consumer electronics supplier (2024)
At some point, every design has to leave the screen and become a physical part. That transition is often where delays appear—lead times stretch, feedback becomes less clear, and parts don’t always match the original model.
Engineers can upload CAD files, get instant pricing, and move straight into rapid prototyping manufacturing using CNC machining, sheet metal fabrication, and other processes in one place. Read our guide on how to prepare CAD files for CNC machining.
For engineers evaluating options, a reliable rapid prototyping service allows testing fit, validating function, and moving toward production faster without introducing unnecessary risk.
Rapid Prototyping vs Traditional Prototyping
Traditional prototyping takes a slower path. Tooling comes first. Setup takes time. Changes cost more.
Rapid prototyping flips that. You skip tooling where possible and go straight from CAD to part. That speed changes how teams design. More iterations. Fewer assumptions.
Factor | Rapid Prototyping | Traditional Prototyping |
|---|---|---|
Lead time | 1–5 days typical | Weeks to months |
Tooling required | Usually none | Often required |
Design changes | Easy, low cost | Slow, expensive |
Best for | Iteration, validation | Pre-production validation |
Cost structure | Per-part cost higher | Lower per part at scale |
Flexibility | High | Limited once tooling starts |
Why Rapid Prototyping Matters in Modern Product Development
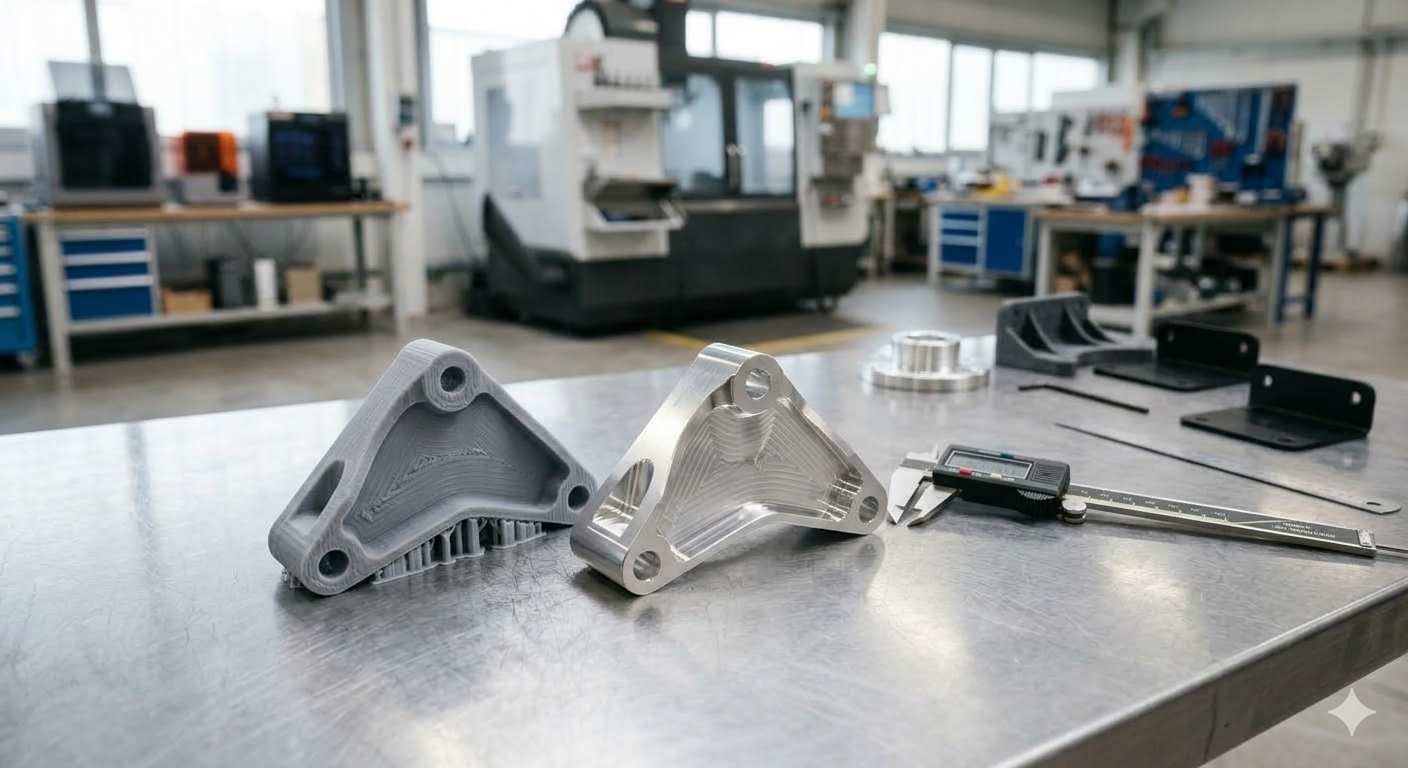
(AI generated) Early and refined prototype parts placed side by side showing design iteration in product development.
Most product failures don’t happen on the shop floor. They happen earlier. In design decisions that looked fine on a screen but fall apart once the part exists.
Rapid prototyping fixes that gap. It puts a physical part in your hands early, while changes are still cheap and easy. That single shift changes how products get built. Teams move faster. Mistakes show up sooner. Decisions rely less on guesswork.
A 2025 product development report showed companies using rapid prototyping cut development cycles by up to 30 percent. The reason is simple. Fewer surprises late in the process.
Faster Design Iteration
Design rarely works on the first try. Small issues stack up. Hole misalignment, clearance problems, and weak sections.
With rapid prototyping manufacturing, you fix those issues immediately. Adjust the CAD. Build another part. Check again.
That loop can happen multiple times in a single week. Without it, each revision takes much longer and slows the entire project.
Fast iteration leads to better designs. Not perfect designs. Just fewer bad assumptions making it through.
Cost-Effective Development
Prototype parts often cost more per unit. That’s normal.
But overall development cost drops when using rapid prototyping. Early fixes prevent expensive tooling changes later. A small geometry mistake caught in a prototype costs almost nothing to fix. The same mistake in production can delay an entire launch.
Most teams now accept a higher prototype cost because it avoids much larger production risks.
Early Functional Testing
A CAD model shows the shape. It doesn’t show behavior.
A real prototype shows how the part actually performs. You can test fit, movement, strength, and assembly. You see how components interact inside the system.
For example, a housing might look fine in design. But once assembled, airflow could be restricted or mounting points could flex under load.
Rapid prototyping manufacturing exposes those issues early.
Reduced Product Development Risk
Every unknown in a design is a risk. Materials, tolerances, assembly, and real-world use.
Rapid prototyping reduces those unknowns step by step. Each prototype answers a question. Each revision removes uncertainty.
By the time the design reaches production, most major risks are already resolved.
That’s the real value. Fewer surprises when the stakes are higher.
Rapid Prototyping Processes Explained
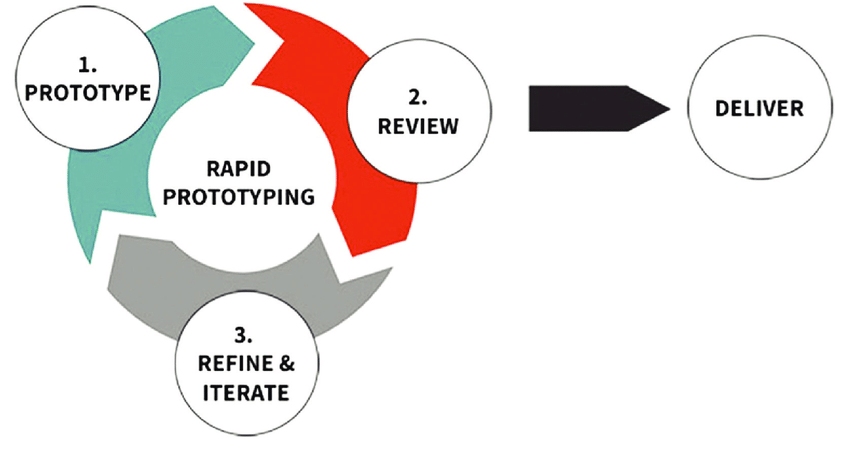
Rapid prototyping process from prototype to delivery. (ResearchGate)
No single method covers every use case. The right fast prototyping process depends on what the part needs to prove. Shape, strength, surface finish, or assembly fit.
Some methods move fast but sacrifice accuracy. Others hit tight tolerances but take longer or cost more per part. Most teams end up using more than one method across the development cycle.
3D Printing (SLA, SLS, MJF, FDM)
3D printing handles early-stage prototypes where geometry matters more than material behavior. Complex shapes, internal channels, and organic designs are easier to produce without tooling. Engineers often use this method for fast design iterations before committing to production processes. A detailed overview of 3D printing in rapid prototyping is available here.
Each process behaves differently:
- SLA gives smooth surfaces and fine detail
- SLS and MJF handle stronger functional parts
- FDM works for quick, low-cost concept models
The tradeoff shows up in strength and tolerance. Printed parts rarely match production materials exactly. Surface finish and dimensional accuracy vary depending on the process.
Use this when testing form, layout, or early fit.
CNC Machining (Prototype Machining)
CNC machining produces prototypes from real production materials. Aluminum, steel, and engineering plastics. What you test is close to what you’ll ship.
This matters when tolerances and mechanical performance actually count.
- Tight tolerances stay consistent
- Surface finish is predictable
- Threads, fits, and mating parts behave correctly
That’s why CNC is often used for late-stage CNC rapid prototyping, especially for functional validation. Once prototype evaluation moves beyond geometry review into load testing, assembly behavior, and production-intent validation, the workflow typically shifts into functional prototyping with tighter process and material control.
For engineers working on functional prototypes with tight tolerances, platforms like JLCCNC allow you to upload CAD files, receive instant DFM feedback, and move directly into CNC rapid prototyping without long setup cycles.
CNC Rapid Prototyping – Practical Examples
- Aluminum housings that need an exact fit with PCBs
- Mechanical brackets under real load conditions
- Precision parts where tolerance stack-up matters
If the part needs to behave like the final product, CNC rapid prototyping usually makes more sense than printing.
Sheet Metal Prototyping
Flat parts, enclosures, brackets. This is where sheet processes come in.
Laser cutting and bending produce functional prototypes quickly, especially for parts that will later move into volume sheet metal production.
- Fast turnaround for enclosure parts
- Real material thickness and bending behavior
- Accurate hole placement and alignment
You also catch real-world issues early. Bend interference, panel stiffness, fastener alignment.
JLCCNC provides rapid sheet metal prototyping with laser cutting, CNC bending, and finishing in one workflow.
Rapid Sheet Metal Prototyping Examples
- Electronics enclosures and control boxes
- Mounting panels with repeated hole patterns
- Brackets that require formed geometry
If the final product uses sheet metal, this step saves time later.
Urethane Casting
Urethane casting fills the gap between prototypes and low-volume production.
It starts with a master model, usually 3D printed or CNC machined. Silicone molds replicate that model, and liquid urethane forms the parts.
- Good surface finish
- Material options that simulate plastics
- Lower cost for small batches
Molds wear out over time, so this method fits low-volume runs rather than long-term production.
Use it when you need multiple identical prototypes without jumping into tooling.
Rapid Injection Molding
This method brings prototypes closer to real production conditions.
Soft tooling, often aluminum molds, produces parts using actual injection molding processes. The result behaves almost exactly like the final production parts.
- Real production materials
- Consistent part quality
- Suitable for functional and pre-production testing
The tradeoff is upfront cost and lead time. Even rapid tooling takes longer than printing or machining.
Teams usually use this stage when the design is nearly locked and needs final validation before scaling.
Process | Speed | Accuracy | Material Options | Best Use Case | Limitations |
|---|---|---|---|---|---|
3D Printing | Very fast | Moderate | Limited | Early design validation | Weak mechanical properties |
CNC Machining | Moderate | High | Wide range | Functional prototypes | Higher cost per part |
Sheet Metal | Fast | High (for flat parts) | Metals | Enclosures, brackets | Limited to formed geometry |
Urethane Casting | Moderate | Good | Plastic-like | Small batch prototypes | Mold lifespan limited |
Injection Molding | Slower | Very high | Production plastics | Pre-production validation | Tooling cost |
Rapid Prototyping Materials
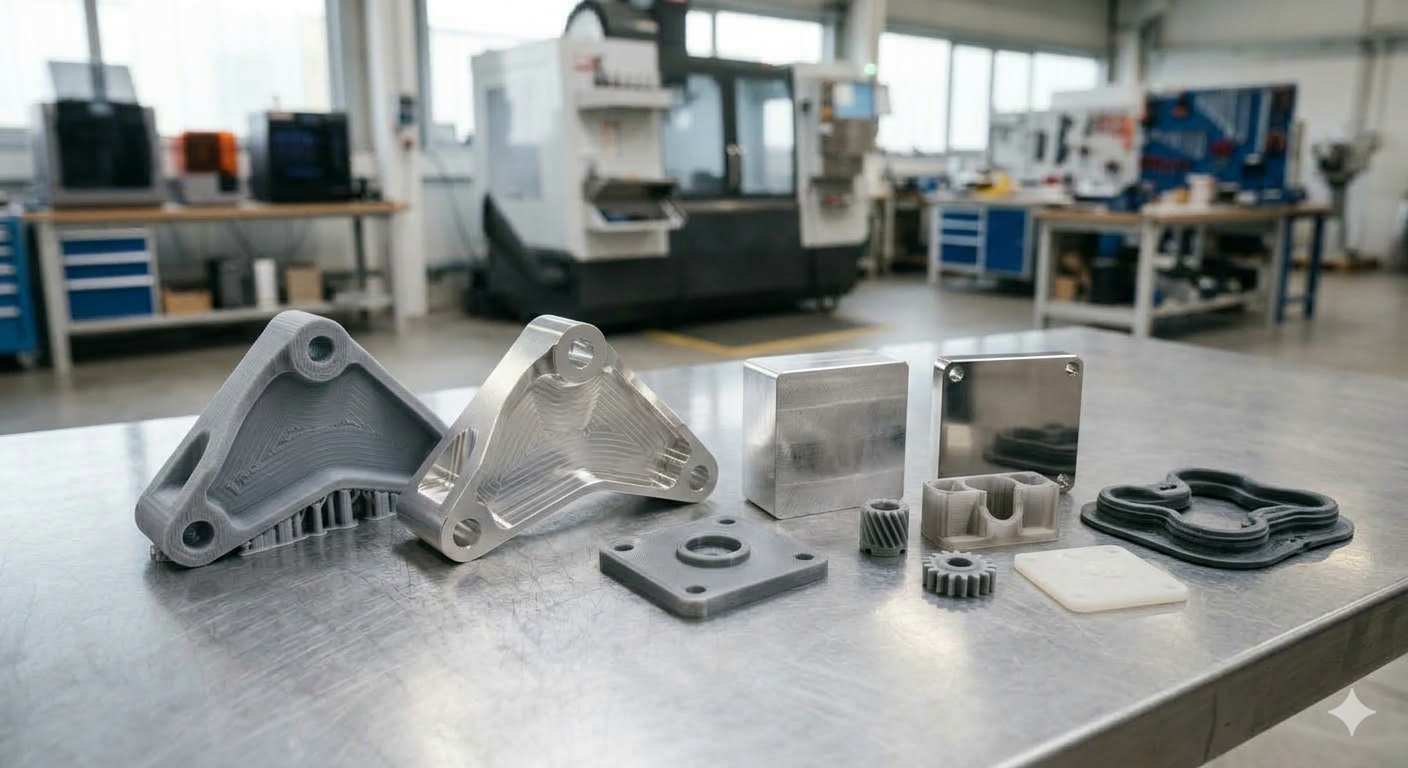
(AI generated) Common rapid prototyping materials including metal, plastic, and elastomer samples on a work surface.
Material Type | Common Materials | Key Properties | Best Prototyping Use | Limitations |
|---|---|---|---|---|
Plastics | ABS, PLA, Nylon, PC, Resin | Lightweight, easy to process, good surface finish | Concept models, fit checks, visual prototypes | Lower strength, limited heat resistance |
Metals | Aluminum, Steel, Stainless Steel, Titanium | High strength, real production behavior, tight tolerances | Functional testing, load-bearing parts, precision prototypes | Higher cost, longer machining time |
Rubber / Elastomers | TPU, Silicone, TPE | Flexible, impact-resistant, good for sealing and damping | Gaskets, seals, soft-touch components | Lower structural strength, limited dimensional stability |
Composites | Carbon fiber reinforced plastics, glass fiber | High strength-to-weight ratio, stiff, durable | Lightweight structural prototypes, performance parts | Expensive, harder to machine or print |
Material choice in fast prototyping depends on what needs to be tested. Early-stage models favor speed and cost. Functional prototypes require materials that behave like the final product.
Comparison of Rapid Prototyping Methods
Process | Speed | Cost | Materials | Tolerance | Surface Finish | Best Use Case |
|---|---|---|---|---|---|---|
3D Printing (SLA, SLS, MJF, FDM) | Very fast (hours–days) | Low to medium | Plastics, resins | ±0.1–0.3 mm typical | Smooth (SLA), grainy (SLS/MJF) | Early design validation, complex geometry |
CNC Machining | Moderate (1–5 days) | Medium to high | Metals, engineering plastics | ±0.01–0.05 mm | Excellent, machined finish | Functional prototypes, tight tolerances |
Sheet Metal Fabrication | Fast (2–5 days) | Medium | Steel, aluminum, stainless | ±0.1 mm typical | Good, depends on the cutting method | Enclosures, brackets, formed parts |
Urethane Casting | Moderate (5–10 days) | Medium | Polyurethane resins | ±0.1–0.2 mm | Very good, mold-quality | Small batch plastic parts |
Rapid Injection Molding | Slower (1–3 weeks) | Higher upfront, low per part | Production plastics | ±0.01–0.05 mm | Production-grade | Pre-production validation, bridge to mass production |
Each rapid prototyping method answers a different question. Speed favors early design checks. Accuracy and material fidelity matter more as the design moves closer to production.
How to Choose a Rapid Prototyping Method
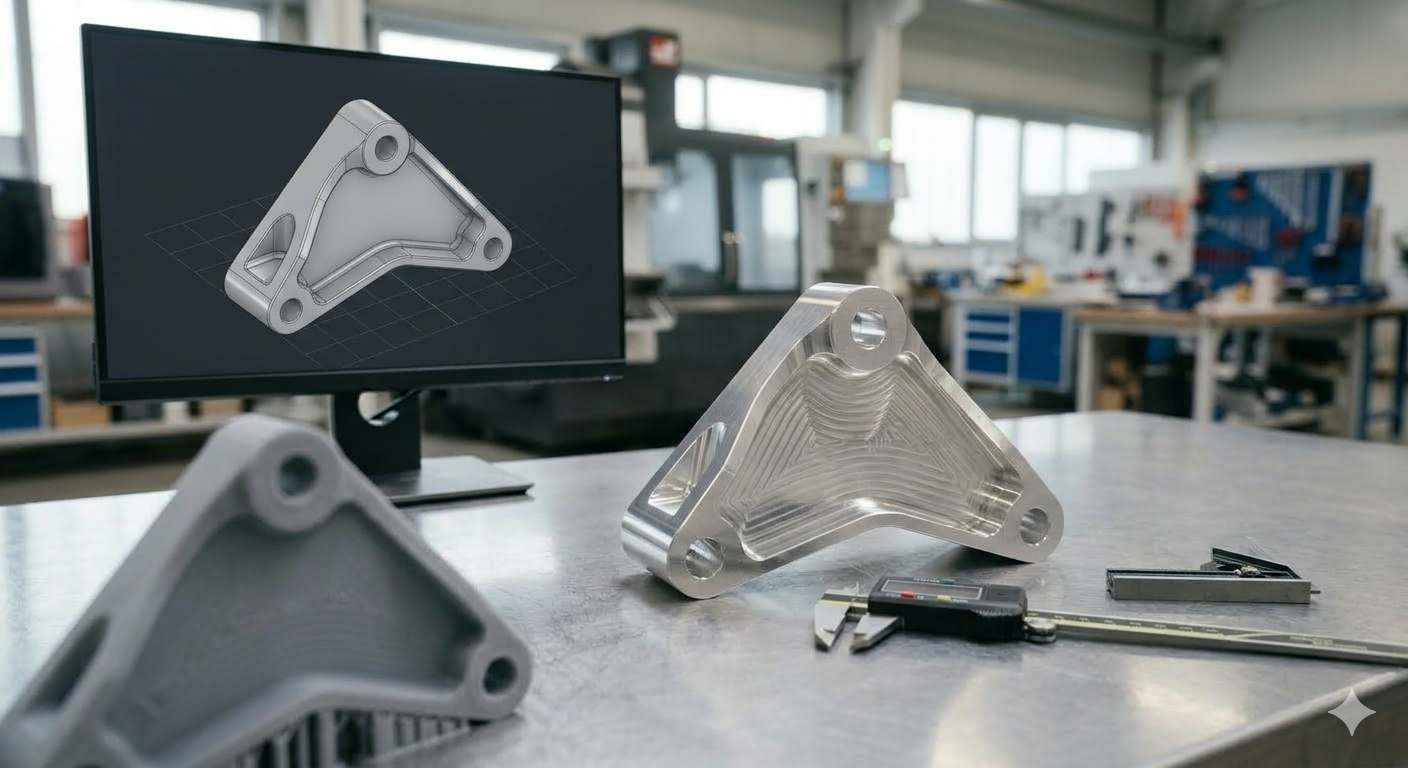
(AI generated) Prototype part on a workstation with CAD model in background representing prototyping method selection.
Choosing a fast prototyping method comes down to one question. What does this part need to prove?
If the goal is visual fit, speed matters most. If the goal is strength or tolerance, material and process matter more. Most teams balance all three. Speed, accuracy, and cost.
Decision Tree (For Selecting a Prototyping Process)
Use this as a quick filter:
- Need complex geometry or internal features
→ Use 3D printing - Need real material behavior or tight tolerances
Use CNC machining - Designing enclosures, brackets, or bent parts
Use sheet metal prototyping - Need multiple plastic parts with a consistent finish
Use urethane casting - Preparing for production with real materials and tooling behavior
Use rapid injection molding
This isn’t rigid. Teams often switch methods as the design evolves.
When to Use Each Rapid Prototyping Method (Typical Use Cases)
- 3D printing
Early-stage models, concept validation, complex shapes - CNC machining
Functional testing, load-bearing parts, precision fits - Sheet metal prototyping
Enclosures, panels, and brackets with real bend geometry - Urethane casting
Small batch plastic parts, appearance models - Injection molding
Final validation before mass production
Most products move through more than one method. Start fast. Then move toward accuracy and production realism.
How to Reduce Rapid Prototyping Cost and Lead Time
Prototype cost usually climbs for one reason. The design asks for more than it needs.
Tight tolerances everywhere. Complex geometry. Extra finishing. All of it adds time and cost without improving the actual test.
Clean designs move faster. Simple decisions early save days later.
Use Online Quoting and DFM Feedback Early
Upload the CAD early and get feedback before locking the design.
DFM feedback highlights issues like thin walls, deep pockets, or hard-to-machine features. Fixing these early speeds up the rapid prototyping cycle and avoids rework.
Choose Readily Available Materials
Exotic materials slow everything down.
Standard materials like aluminum, ABS, or common resins are easier to source and machine. That keeps lead times short and pricing predictable.
If the test doesn’t require a specific material, don’t over-spec it.
Use Standard Tolerances Unless Critical
Tight tolerances increase machining time and inspection effort.
Only apply strict tolerances where they matter. Mating features, sealing surfaces, precision fits.
For everything else, standard tolerances work fine and reduce cost in rapid prototyping.
Reduce Secondary Operations and Finishes
Every extra step adds time.
Polishing, coating, and anodizing. These processes improve appearance, but they don’t always help functional testing.
Skip them unless the prototype needs surface performance validation.
Simplify Geometry
Complex geometry slows down every process.
Deep cavities, sharp internal corners, thin unsupported walls. These features increase machining time or require special setups.
Simpler parts build faster. They also reveal design issues more clearly during rapid prototyping.
Before production, designs must be realized as physical parts. Delays often occur at this stage due to mismatched tolerances, unclear assembly feedback, or unexpected geometry issues.
JLCCNC helps close that gap. Engineers can upload CAD files, get instant pricing, and move straight into rapid prototyping manufacturing using CNC machining and sheet metal fabrication in one place.
Engineers can evaluate fit and function, and plan subsequent production steps more accurately with a rapid prototyping service. Fewer back-and-forths. Faster parts. Cleaner iteration cycles.
Rapid Prototyping Services
In practice, prototyping rarely relies on a single process. A part may start with 3D printing for geometry checks, then move to CNC machining for functional validation, and finally shift to sheet metal fabrication if the design requires formed structures.
CNC rapid prototyping is often used when material behavior and tolerances need to match production conditions. This includes prototype machining of aluminum housings, precision brackets, and components where fit and load matter.
For custom enclosure-type parts, rapid sheet metal prototyping provides a more realistic representation of final products. Laser cutting and bending allow engineers to verify panel alignment, stiffness, and assembly interfaces early.
The advantage comes from combining these processes rather than treating them separately. Switching between methods during development allows teams to test different aspects of a design without committing too early to one manufacturing path.
Working with a rapid prototyping service that supports multiple processes makes this transition more straightforward. It reduces coordination overhead and shortens the iteration cycle between design changes and physical validation.
For projects that involve multiple processes or tight validation cycles, working with a platform that supports CNC machining, sheet metal fabrication, and other prototyping methods in one workflow can simplify execution. JLCCNC provides quoting and manufacturing across these processes, based on specific engineering requirements.
FAQ
Q: How fast is rapid prototyping?
Most rapid prototyping methods deliver parts within 1 to 5 days, depending on the process and complexity.
Q: CNC vs 3D printing for prototypes?
CNC machining provides better accuracy and real material performance, while 3D printing is faster for complex shapes and early-stage designs.
Q: What tolerances can CNC rapid prototyping achieve?
Typical CNC prototype tolerances range from ±0.01 mm to ±0.05 mm, depending on material and geometry.
Q: What is rapid sheet metal prototyping used for?
It’s used for enclosures, brackets, and panels that require real material thickness and bending behavior.
Q: Rapid prototyping manufacturing vs production manufacturing?
Rapid prototyping focuses on speed and iteration, while production manufacturing focuses on repeatability and cost efficiency.
Q: How to select the best rapid prototyping service?
Choose a service that offers multiple processes, clear DFM feedback, fast quoting, and consistent quality across prototype and production stages
Q: What is the cost difference between rapid prototyping methods?
Switch when the part needs to reflect real material behavior rather than just geometry. 3D printing is useful early on, but once fit or load starts to matter, CNC rapid prototyping or prototype machining gives more reliable results with production materials
Q: What is the difference between rapid prototyping and fast prototyping?
3D printing is usually the lowest-cost option for early prototypes. CNC rapid prototyping and prototype machining cost more per part but provide higher accuracy. For larger quantities, processes with tooling reduce unit cost but increase upfront expense.
Popular Articles
• Rapid Prototyping Guide: Processes Compared and How to Choose the Right Method for Manufacturing
• CNC Rapid Prototyping: Cost, Lead Time, Design Tips & Machining Service
• How is the Cost of CNC Machining Determined
• CNC machining solutions for DIY project designers
• The true cost of CNC machining services what are the main factors affecting price
Keep Learning
Rapid Prototyping Guide: Processes Compared and How to Choose the Right Method for Manufacturing
What Is Rapid Prototyping (AI generated) Various rapid prototyping parts including 3D printed, CNC machined, and sheet metal components on a workshop table. Rapid prototyping is a manufacturing approach that produces physical parts directly from CAD data within hours or days, enabling engineers to quickly validate design, fit, and function before full-scale production. Modern shops use several methods under this umbrella. 3D printing, CNC machining, and sheet processes all fall into the rapid prototyp......
Additive vs Subtractive Manufacturing: Differences, Advantages, and How to Choose the Right Process
Quick Comparison: Additive vs Subtractive Manufacturing Feature Additive Manufacturing Subtractive Manufacturing How it works Builds parts layer by layer Removes material from solid stock Best for Complex geometry, prototypes, low-volume production Precision parts, tight tolerances, production runs Design freedom Excellent, including internal channels and lattices Limited by cutting tool access Typical accuracy Lower as-built accuracy; post-processing is often required High dimensional accuracy direct......
OEM vs ODM: Key Differences, Benefits, and How to Choose
Key Differences at a Glance Between OEM and ODM Factor OEM Manufacturing ODM Manufacturing Design Origin Buyer provides the product design Supplier provides an existing design Product Control Higher control over specifications and development Less control over the core product design Engineering Input Requires more engineering and product development work Requires less technical involvement Customization Extensive customization options Limited to predefined modification options Intellectual Property I......
Large Part CNC Machining: Processes, Challenges, and Manufacturing Considerations
Key Takeaways About Large Part CNC Machining Large part CNC machining handles components where size itself introduces manufacturing challenges that standard machining doesn't face, thermal effects, deflection, workholding complexity, and dimensional control over long spans. Machine travel is one constraint but not the only one, part weight, spindle access, and workholding capability define what a machine can actually do with large components as much as the stated work envelope. Accuracy on large parts......
Low Volume CNC Machining: Small Batch Production Strategies and Manufacturing Guide
Key Takeaways About Low Volume CNC Machining Low volume CNC machining is typically used for production runs ranging from a single part to roughly 1,000 units, without the tooling investment required by molding or casting processes. Small batch CNC machining is often the most practical choice when designs are still evolving, demand is uncertain, or production quantities are too low to justify dedicated tooling. CNC machining can produce production-grade parts from aluminum, stainless steel, titanium, a......
On-Demand Manufacturing Process for CNC Production and Custom Parts
Key Takeaways CNC on-demand manufacturing is the most common implementation, machined metal and plastic parts produced from uploaded files with fast turnaround. The model reduces inventory investment, enables low-minimum-quantity orders, and allows design changes without scrapping committed production batches. On-demand production doesn't eliminate manufacturing cost, it shifts when that cost is incurred and removes the carrying cost of unsold inventory. The economics favor on-demand manufacturing at ......