Acrylic Polishing Guide: How to Achieve a Clear, Smooth Acrylic Finish
13 min
- What Is Acrylic Polishing
- Why Polishing Acrylic Is Critical for Machined Parts
- Common Manufacturing Methods for Acrylic
- How to Polish Acrylic
- Common Acrylic Finishes After Polishing
- Common Problems: Acrylic Cracks & How to Avoid Them
- DIY vs Machine vs CNC: Which Should You Choose?
- Acrylic Polishing and CNC Machining at JLCCNC
- FAQ
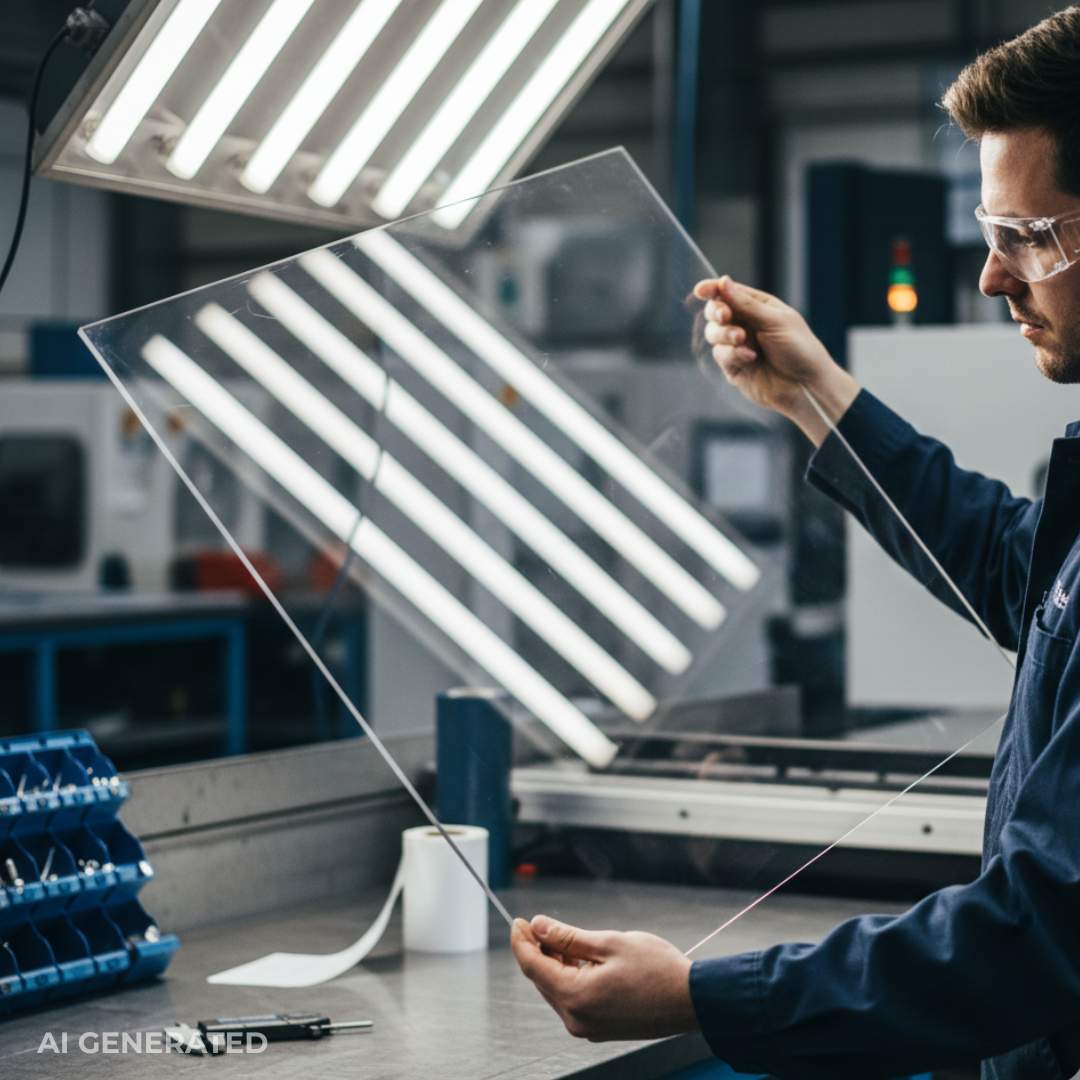
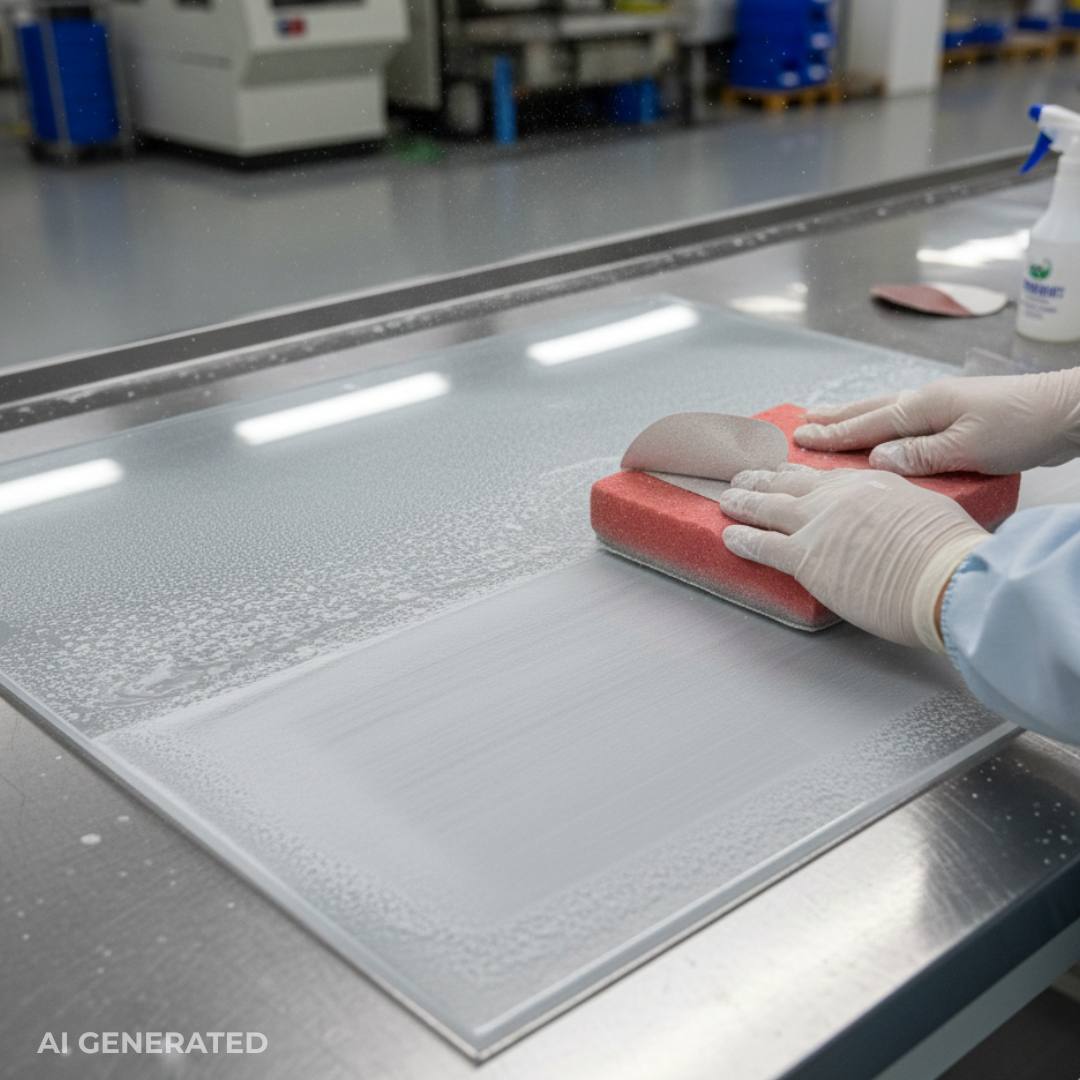
Technician inspecting a clear acrylic sheet under factory lights to check surface polish quality.
Acrylic polishing is a critical surface finishing process used to improve the clarity, appearance, and performance of CNC machined acrylic (PMMA) parts. From simple hand polishing to machine polishing and industrial CNC acrylic polishing, different methods produce very different surface finishes, consistency levels, and risks such as heat buildup and acrylic cracking. This guide explains what acrylic polishing is, why polishing acrylic matters for machined parts, common polishing methods, best practices in CNC machining, and when outsourcing CNC polishing is the most reliable option for production-quality results.
This is where JLCCNC stands out. With production-grade CNC machining, controlled polishing workflows, and experience handling optical and cosmetic acrylic parts, JLCCNC removes the guesswork that often leads to clouding, stress marks, or cracked edges. Instead of trial-and-error polishing, you get consistent surface quality that actually matches engineering and visual requirements.

What Is Acrylic Polishing
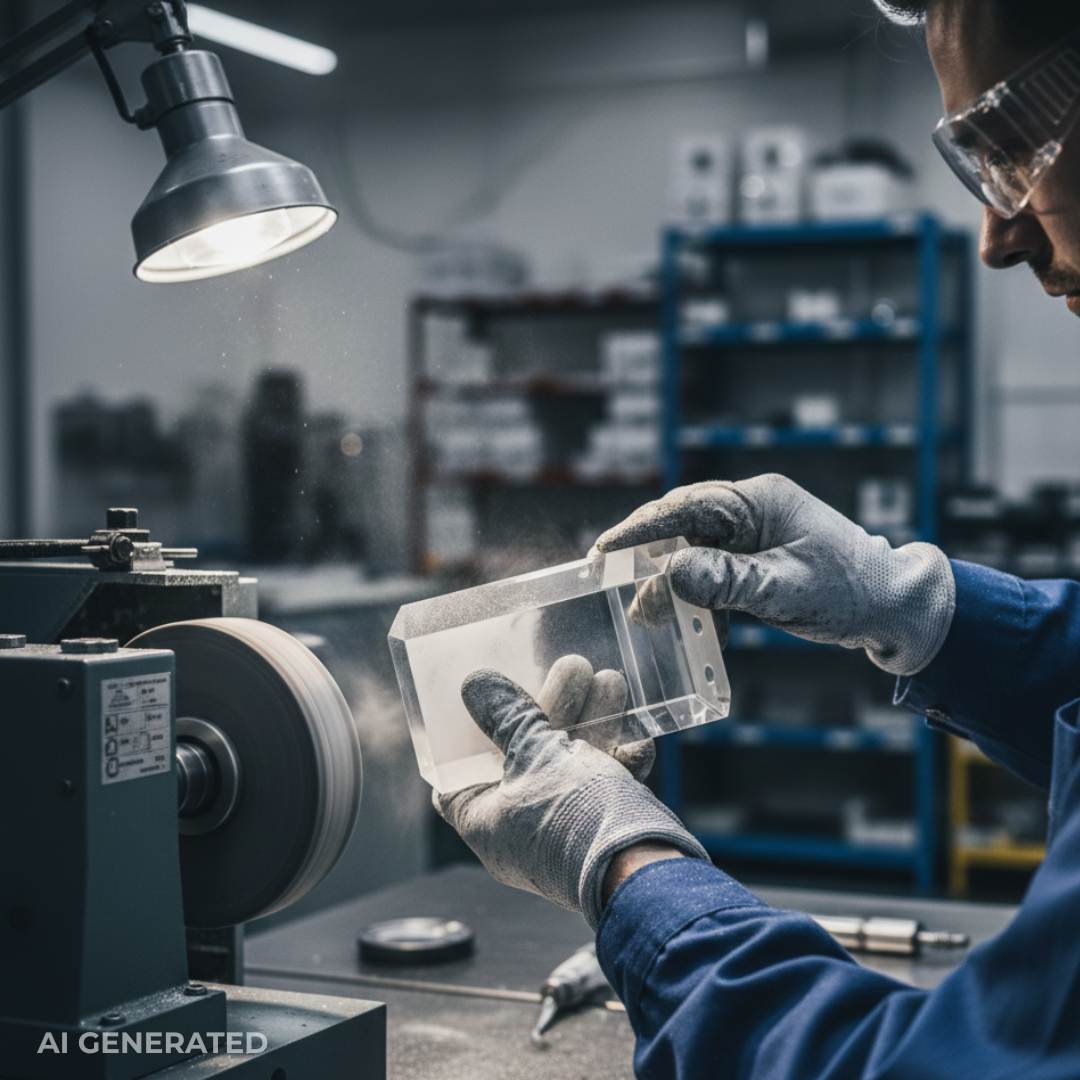
Factory worker polishing a CNC machined acrylic part to improve clarity and finish.
CNC machining of PMMA inherently leaves surface haze, micro-ridges, and tool marks that ruin the material's natural transparency. Polishing is the essential "fix" for this, physically leveling out those microscopic peaks and valleys so light can pass through without scattering. It’s what moves a part from a raw, "milled" look to something with true optical-grade clarity.
Beyond the visuals, a clean acrylic polish actually helps the part's structural integrity by stripping away stress concentrators at the edges. But there’s a massive technical hurdle: acrylic’s sensitivity to thermal load. Push too hard or use the wrong friction speed, and the part will "craze" (micro-crack) or whiten almost instantly. Getting a glass-like acrylic finish on CNC-machined PMMA isn't just about the buffing wheel, it’s about a highly controlled understanding of how that specific polymer handles friction and heat.
Why Polishing Acrylic Is Critical for Machined Parts
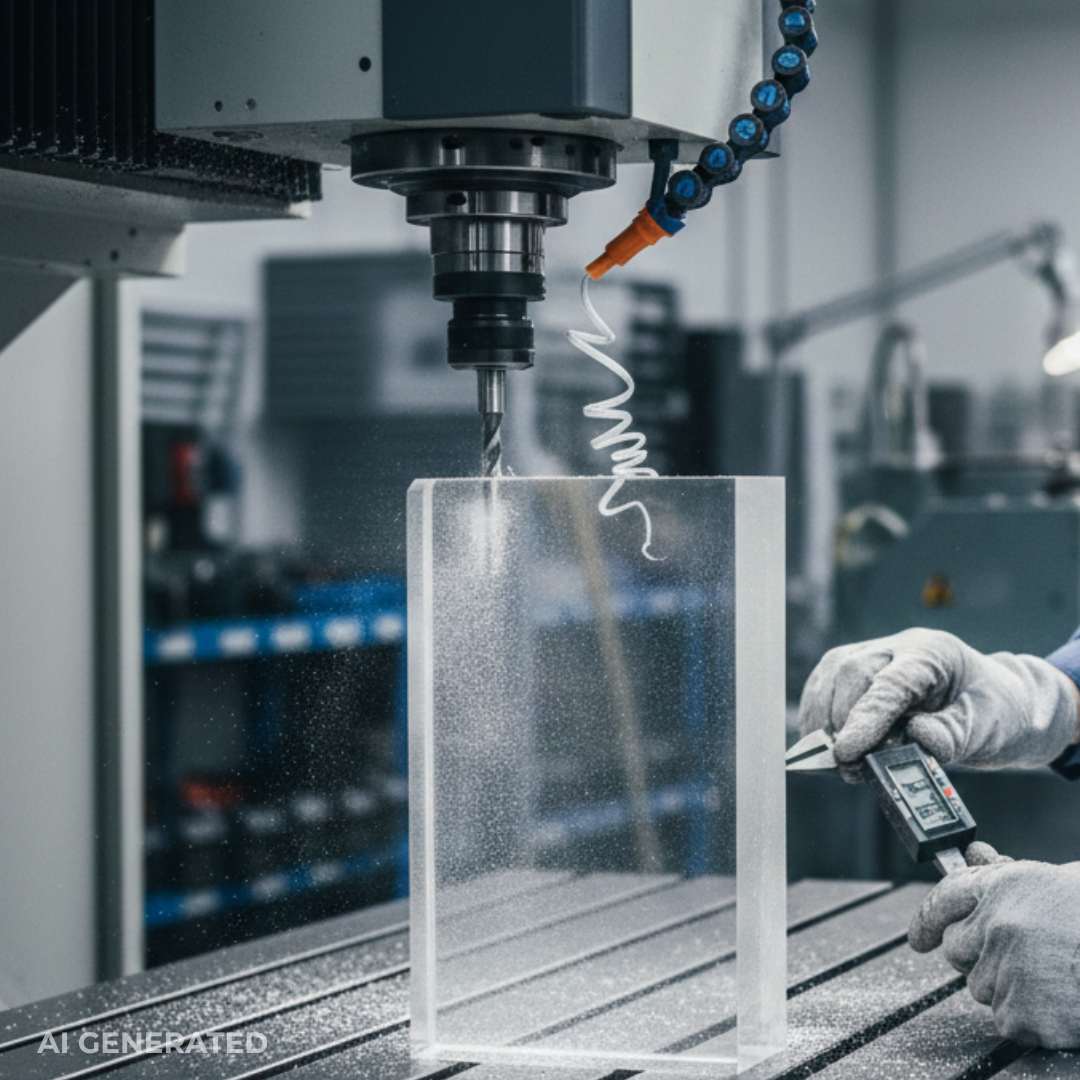
Technician inspecting CNC-machined acrylic edges to ensure polishing is needed for clarity and strength.
Manufacturing floor showing different acrylic polishing methods including hand, machine, and CNC polishing stations.
If you leave micro-grooves and residual stresses on the PMMA surface untreated, you aren't just looking at a "hazy" part, you're looking at a part prone to premature cracking and optical distortion.
Surface Quality and Optical Clarity of Clear Acrylic
For clear acrylic to do its job, the surface must be uniform enough to prevent light scattering. Even the finest machining marks act as tiny prisms that cause haze. Polishing levels those microscopic peaks, stripping away the diffusion so light can pass through with total accuracy. This is the "make-or-break" factor for things like light guides, lenses, or inspection windows where even a tiny amount of distortion ruins the part's utility.
Beyond the physics, there's the issue of consistency. Two parts might meet the same dimensional tolerances on paper, but without a standardized acrylic polish, they’ll look completely different. Polishing bridges that gap, ensuring every unit has that high-end, consumer-ready finish.
Mechanical Stress and Acrylic Crack Risks
Every edge and tool contact point is a potential failure zone. Machining inherently "bruises" the material, creating localized stress concentrators. When that part hits the real world, facing vibration, temperature swings, or chemical exposure, those micro-defects turn into full-blown cracks. Controlled polishing effectively "blunts" these initiation points, smoothing out the surface to distribute loads more evenly. It's a proactive step to stop "crazing" before it starts, significantly extending the life of functional acrylic assemblies.
Common Manufacturing Methods for Acrylic
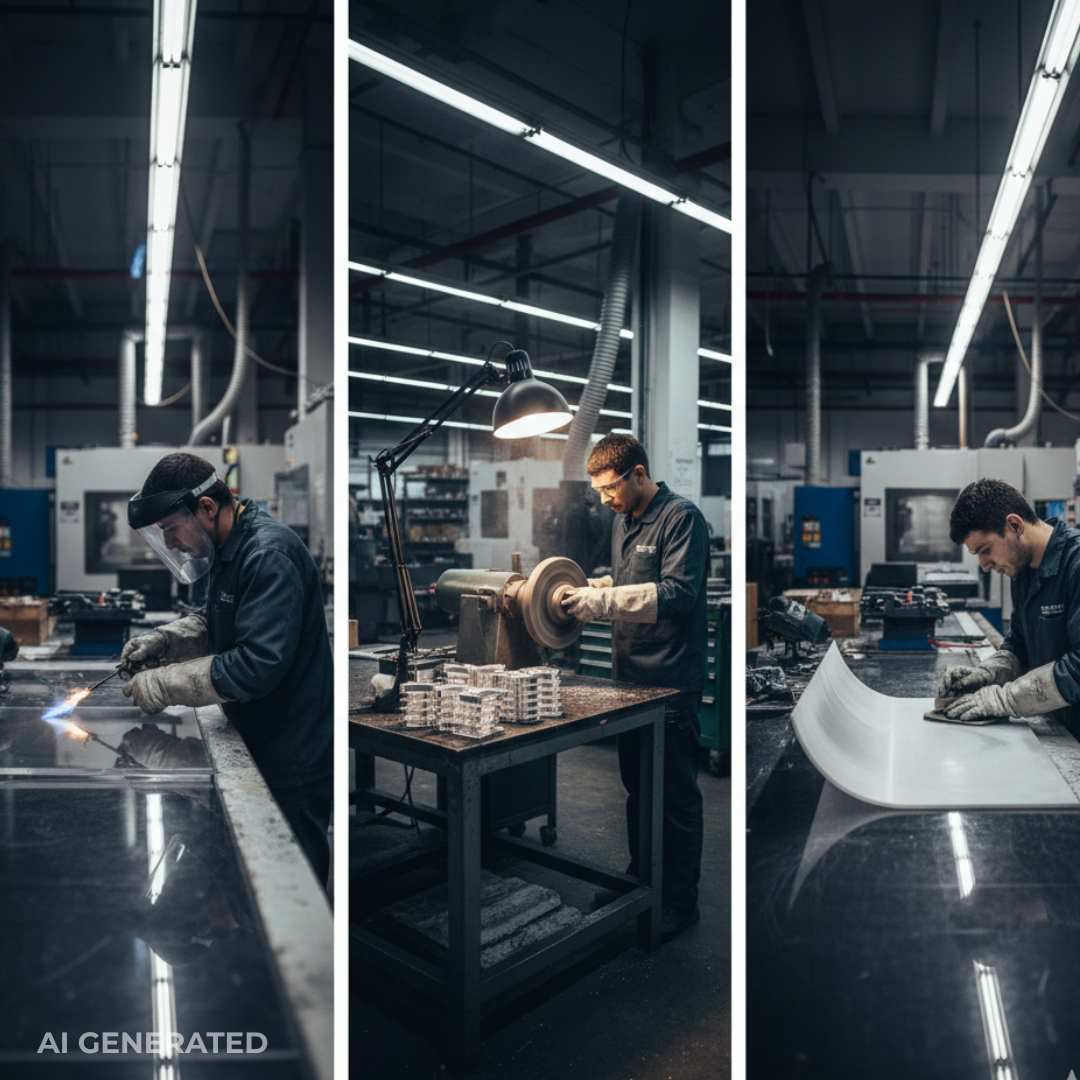
Manufacturing floor showing flame polishing, machine polishing, and hand sanding stations for acrylic.
The right polishing method usually depends on a balance between the part’s geometry and how much "defect risk" you can tolerate.
Hand vs. Machine Buffing
Hand polishing is fine for localized touch-ups or one-off prototypes where an operator can feel the surface, but it’s a nightmare for repeatability. Machine buffing (using orbital or wheel stations) solves the speed issue, but it’s aggressive. If you don't watch the surface temperature, you'll end up with "burn marks" or smeared resin that ruins the part's clarity.
Production-Grade CNC Polishing
For optical components or high-visibility enclosures, automated CNC acrylic polishing is the gold standard. By locking in the tool paths and feed rates, you keep the friction heat low and the results predictable. It is the most reliable method for achieving consistent surface roughness targets in production.
The High-Risk Options
Flame and vapor polishing are visually impressive because they melt the surface to "reflow" scratches, but they are incredibly finicky. The thermal shock often leads to internal stress and delayed cracking (crazing), so they should really be reserved for cosmetic edges rather than load-bearing parts.
How to Polish Acrylic
Top-down view of sanding an acrylic panel step-by-step using progressively finer grits.
Achieving a production-quality finish isn't about scrubbing harder; it’s about heat management and "grit discipline."
Establish a Baseline: Before even touching the part, you need a clear inspection standard. Over-polishing isn't just a waste of time, it’s a fast track to warping the part or causing micro-cracks.
Prep and Progressive Sanding: You can’t polish out a deep gouge. Start by clearing off machining oils and debris, then work through a progressive grit sequence. The trick is to ensure each finer grit completely replaces the scratches of the previous one. Skipping steps or jumping straight to a high-speed compound usually just "hides" defects under a layer of haze that reappears later.
Final Cleanup and Protection: Once the surface reaches its final clarity, the residue has to be stripped immediately. Polished acrylic is a magnet for fingerprints and micro-scratches, so protective films or specialized packaging are mandatory if the part needs to survive shipping.
That’s where services like JLCCNC quietly make sense. Instead of guessing polishing steps after machining, JLCCNC treats acrylic finishing as part of the machining workflow itself, toolpaths, stress control, and polishing parameters are planned together. The result is fewer cracked parts, less rework, and predictable surface quality.
If you’re wondering what this actually costs: basic CNC machined parts at JLCCNC can start from as low as $1, and polishing options are clearly quoted upfront, no back-and-forth, no hidden “finishing surprises.”
Upload the file, select acrylic, and see machining + polishing pricing in minutes, before committing to anything.
Common Acrylic Finishes After Polishing
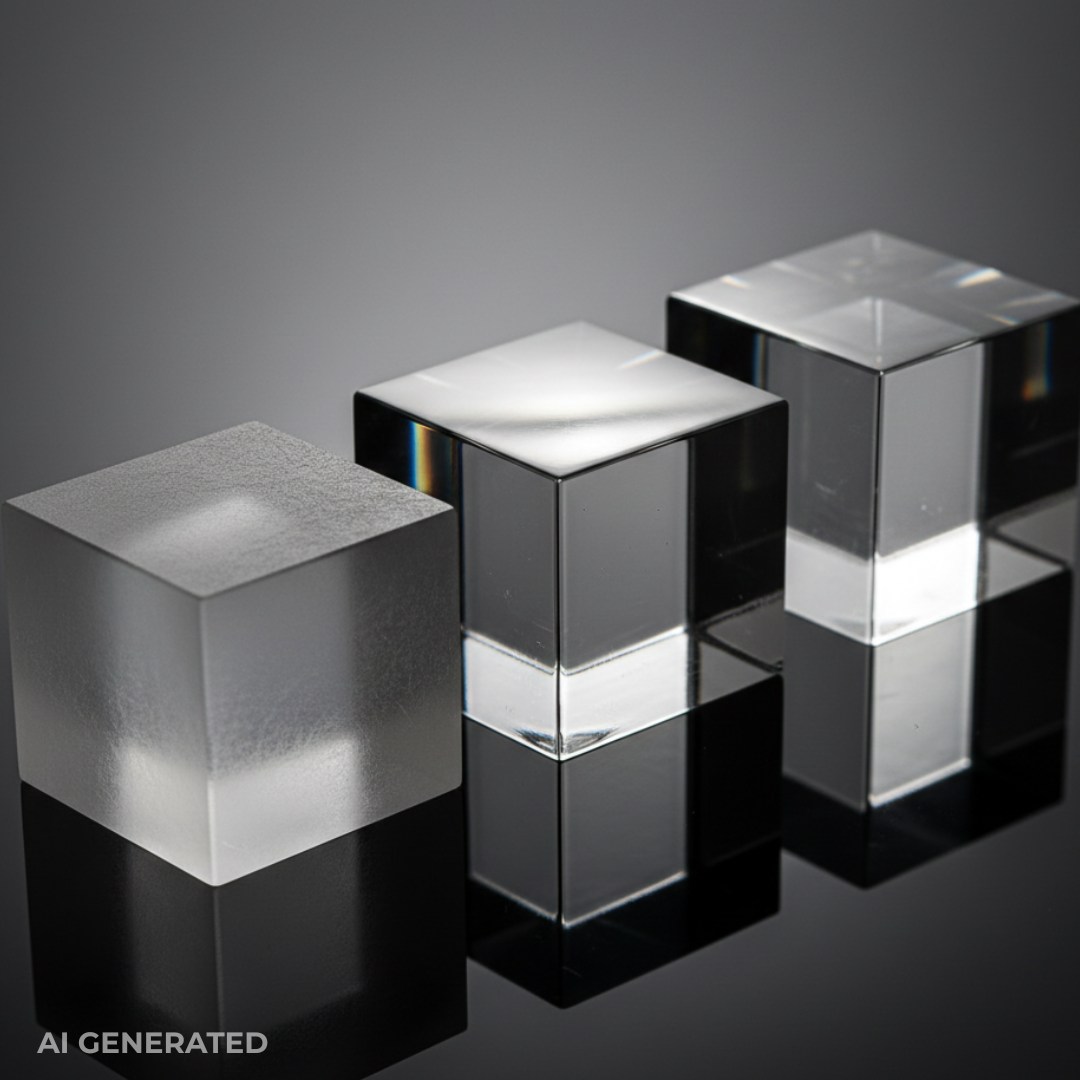
Three acrylic cubes showing different polishing finishes: hazy, glossy, and optical clear.
Finish Levels Overview & Specification Guide
| Acrylic Finish Level | Visual Appearance | Typical Surface Quality | How It’s Achieved | Common Applications | Inspection / Specification Method |
| Gloss Finish | Shiny surface with visible depth, slight distortion possible | Smooth but may retain micro-haze under strong light | Fine sanding + machine or hand polishing | Covers, housings, display panels, cosmetic parts | Visual inspection under controlled lighting |
| Clear Finish | Transparent with minimal haze, readable through part | Uniform surface with low scattering | Progressive sanding + controlled polishing | Windows, light covers, protective shields | Visual + functional clarity check |
| Optical-Clear Finish | Near-glass clarity, minimal distortion | Extremely smooth, very low surface roughness | CNC acrylic polishing or tightly controlled polishing workflow | Lenses, optical windows, precision enclosures | Optical inspection, Ra measurement, distortion testing |
What Impacts Achievable Finish
| Factor | Impact on Final Finish |
| Initial Machining Quality | Deep tool marks limit achievable clarity and increase polishing time |
| Acrylic Grade (PMMA Type) | Cast acrylic polishes better than extruded acrylic |
| Polishing Method | Hand and machine polishing vary in consistency; machine polishing acrylic gives best repeatability |
| Heat Control | Excess heat causes haze, smearing, or internal stress |
| Part Geometry | Sharp edges and thin walls are harder to polish without defects |
| Inspection Standard | Undefined standards often lead to over- or under-polishing |
Common Problems: Acrylic Cracks & How to Avoid Them
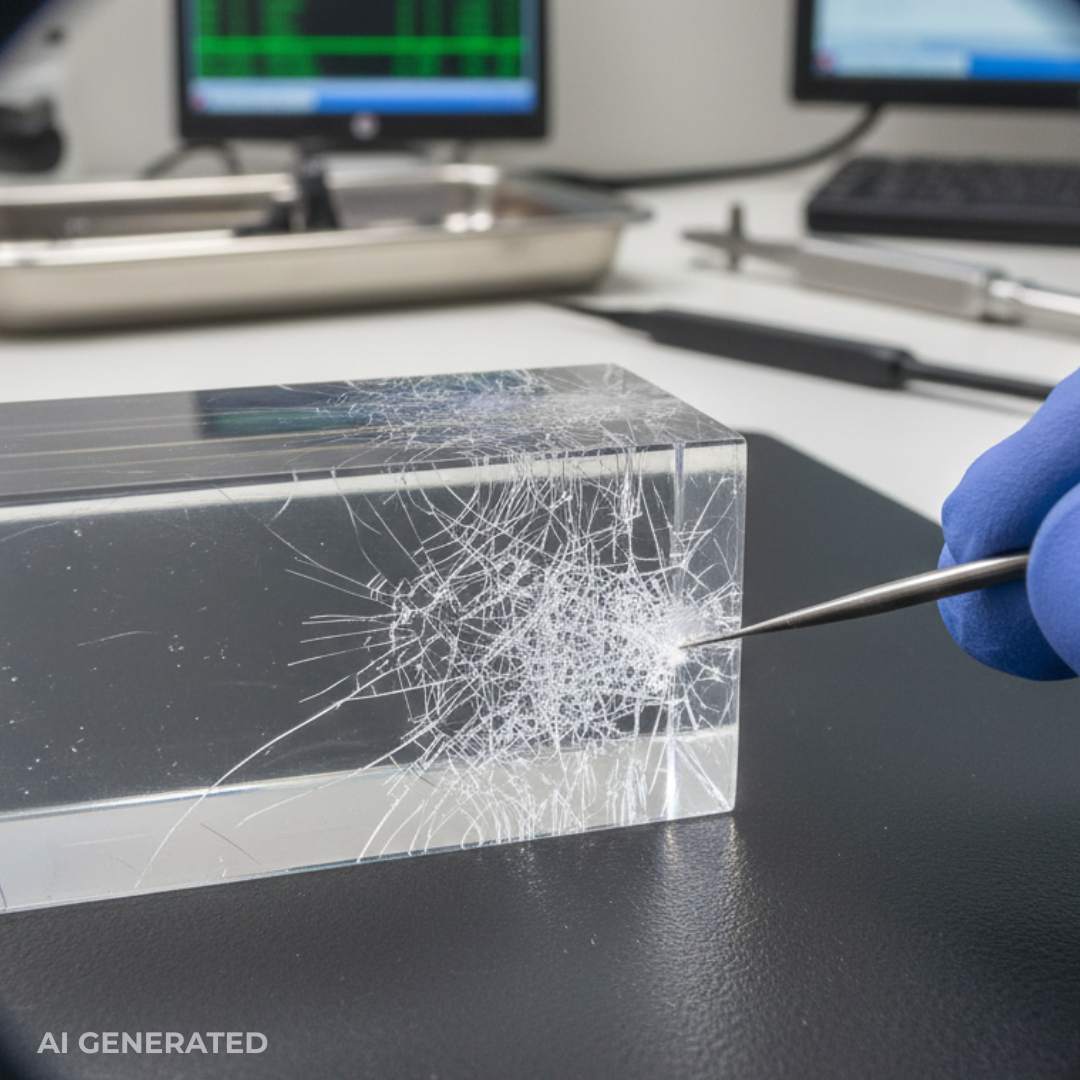
Microscopic inspection of stress cracks in acrylic during polishing to identify defects.
Acrylic cracks, crazing, haze, and burn marks during polishing are caused by excessive heat, internal stress from machining, aggressive material removal, chemical exposure, and poor process control. Preventing these defects in CNC production requires controlled polishing pressure, proper surface preparation, heat management, and design-for-manufacturing (DFM) decisions made before polishing begins.
Cracks and Crazing
Acrylic cracks and crazing are stress-related failures. Acrylic (PMMA) does not deform plastically like metal, once internal stress exceeds its limit, it fractures.
Common causes
● Excessive localized heat during polishing
● Residual machining stress (especially from dull tools or high spindle speeds)
● Solvent exposure (cleaners, vapor polishing residue)
● Sharp internal corners or thin wall sections
Why they appear after polishing
Polishing doesn’t create stress, it reveals it. Removing surface material releases trapped stress, allowing microcracks or crazing patterns to form hours or days later.
Best practices
● Anneal parts after CNC machining for stress relief
● Avoid aggressive flame or vapor polishing on stressed parts
● Radius internal corners during design
● Control polishing temperature and dwell time
Haze, Swirl Marks, and Burn Marks
These defects are surface-energy and heat management problems.
Haze
● Caused by micro-melting of the surface
● Often from too much speed, pressure, or skipping grit steps
Swirl marks
● Result from uneven abrasive progression
● Common when switching directly from sanding to polishing
Burn marks
● Appear as cloudy or yellowed areas
● Caused by localized overheating
Best practices
● Use progressive grit steps without skipping
● Reduce RPMs during final polishing
● Keep polishing tools clean and well-conditioned
● Allow cooling intervals between passes
Contamination and Re-scratching
Acrylic surfaces scratch easily, even during “clean” handling.
Typical sources
● Dirty polishing pads
● Embedded abrasive particles
● Poor post-polish handling or packaging
Best practices
● Isolate polishing stages (no shared pads)
● Rinse thoroughly between grit changes
● Use lint-free gloves and non-abrasive packaging films
Prevention Checklist: Process Control & DFM Highlights
✔ Stress-relieved machining strategy
✔ Defined finish target (gloss vs optical-clear)
✔ Controlled polishing speed and pressure
✔ Heat monitoring during polishing
✔ Filleted edges and uniform wall thickness
✔ Cleanroom-style handling after final polish
DIY vs Machine vs CNC: Which Should You Choose?
DIY, machine polishing acrylic, and CNC polishing acrylic differ significantly in achievable finish, consistency, crack risk, and scalability. The right choice depends on part geometry, volume, tolerance requirements, and whether surface quality is cosmetic or functional.
Acrylic Polishing Methods Comparison Table
| Method | Surface Finish | Consistency | Crack Risk | Best For |
| DIY / Hand Polishing | Gloss to semi-clear | Low | High | Prototypes, one-off cosmetic parts |
| Machine Polishing | Clear to high gloss | Medium | Medium | Small batches, flat/simple geometries |
| CNC Polishing | Clear to optical-clear | High | Low | Production parts, tight tolerances, optics |
Decision Tree: Choosing the Right Acrylic Polishing Method
Start here: What finish do you need?
● Cosmetic gloss only?
→ Low volume, simple geometry
→ DIY or machine polishing
● Clear transparency required?
→ Moderate volume
→ Machine polishing with controlled process
● Optical clarity or tight tolerances?
→ Production quantities
→ CNC polishing
Next question: Part geometry
● Flat, thick, accessible surfaces → Machine polishing viable
● Thin walls, pockets, internal features → CNC polishing preferred
Final filter: Risk tolerance
● Cosmetic failure acceptable → DIY / machine
● Cracks, haze, or distortion unacceptable → CNC polishing
When to Outsource CNC Polishing for Acrylic Parts
Outsourcing CNC polishing makes sense when:
● Optical clarity is functional, not cosmetic
● Parts have tight dimensional tolerances
● Volumes exceed what manual methods can control
● Rework costs outweigh polishing costs
● Consistency matters more than speed
For production-grade acrylic components, CNC polishing is not just a finishing step, it’s a process control decision.
Acrylic Polishing and CNC Machining at JLCCNC
JLCCNC provides end-to-end CNC machining and acrylic polishing by tightly controlling machining parameters, stress management, and post-processing workflows, allowing clear acrylic (PMMA) parts to achieve consistent cosmetic, clear, or optical-clear finishes without cracking, haze, or dimensional drift.
Before polishing ever begins, JLCCNC focuses on how the acrylic is machined. Tool selection, spindle speed, chip load, and cutting strategy are optimized to minimize internal stress. That matters, because polishing doesn’t fix bad machining, it exposes it. By treating machining and polishing as one continuous process, JLCCNC avoids the common failure modes that show up late in production.
Our CNC Machining & Polishing Capabilities
JLCCNC supports acrylic parts from early prototypes through production runs, with polishing workflows matched to geometry, tolerance, and finish targets.
CNC machining capabilities
● High-speed CNC milling for PMMA and engineering plastics
● Stress-conscious toolpaths for clear and optical applications
● Tight tolerance control before any material-removal finishing
● Geometry-aware DFM review (edges, wall thickness, internal features)
Acrylic polishing capabilities
● Controlled machine polishing for uniform clear finishes
● CNC polishing for repeatable, production-grade results
● Multi-stage abrasive progression (no grit skipping)
● Heat-managed polishing to prevent haze, burn marks, or crazing
● Defined finish targets (gloss, clear, optical-clear)
Polishing parameters, pressure, speed, dwell time, are standardized, not improvised. This is what allows consistent surface quality across batches instead of “one good part, one bad part.”
Why Choose JLCCNC for Acrylic Finishing
Acrylic polishing fails most often because it’s treated as a cosmetic afterthought. JLCCNC treats it as an engineering-controlled process.
What sets JLCCNC apart
● Machining and polishing are planned together, not separately
● Stress mitigation happens before polishing, not after cracks appear
● Finish levels are inspected, not assumed
● Production repeatability matters more than single-part appearance
For clear acrylic components used in covers, housings, light guides, or display parts, this approach reduces scrap, rework, and unpredictable failures, especially at scale.
FAQ
Can acrylic be polished after CNC machining?
Yes. In fact, polishing acrylic after CNC machining is standard practice. The key is ensuring low-stress machining and proper surface preparation before polishing begins.
What is the best polish for acrylic?
There is no single “best” polish. Results depend more on abrasive progression, heat control, and technique than on polishing compound alone. Industrial processes rely on staged abrasives rather than one-step solutions.
Does machine polishing cause acrylic cracking?
Machine polishing itself does not cause cracking. Cracks occur when internal stress, excessive heat, or aggressive material removal is present. Controlled machine or CNC polishing minimizes this risk.
What surface finish can you achieve on clear acrylic?
Depending on geometry and thickness, finishes can range from high-gloss cosmetic clarity to near optical-clear transparency. The achievable finish should always be defined upfront.
Can you polish internal features or complex geometries?
External surfaces are the most predictable. Internal features, deep pockets, and narrow channels may require design allowances or alternative finishing strategies to achieve uniform results.
Flame polishing vs machine polishing: which is better for production?
Flame polishing is fast but unpredictable and can introduce stress and cracking. Machine or CNC polishing is slower but far more consistent and is generally preferred for production-quality acrylic parts.
Popular Articles
• How to choose between Laser marking and UV printing?
• Anodizing vs. Hard Anodizing: The Differences in Surface Treatment Techniques
• What is Bead Blasting Finish in CNC? A Complete Guide
• Surface Finish in Machining, Types, Charts & Testing
• Explanation of different material surface treatment technologies in CNC machining
Keep Learning
Understanding the role of surface finish in CNC machining: how to improve part performance and life?
In precision manufacturing, surface finish is one of the core indicators of CNC machining quality, directly affecting part friction performance, sealing, corrosion resistance and fatigue life. Whether it's aerospace gears or medical implants, precise control of surface roughness (Ra value) has become the key to breaking through technological barriers. In this article, we will analyse the definition of surface finish, influencing factors and optimisation strategies, and share how to achieve the ultimat......
Magnetic Abrasive Finishing: Process, Applications, and Benefits for CNC Machined Parts
Key Takeaways and Introduction About Magnetic Abrasive Finishing Magnetic abrasive finishing uses a magnetic field to control abrasive particles. The process improves surface finish and removes fine burrs. It can reach internal passages and difficult-to-access features. Magnetic deburring is often used on precision machined components. Media selection and magnetic field strength strongly affect results. Magnetic abrasive finishing of precision metal tube Precision metal parts might need more than accu......
Laser Etching: Complete Technical Guide to Process, Materials, and Industrial Applications
Laser etching is widely used in manufacturing, product design, and industrial marking. However, it is often confused with laser engraving and laser marking, which can lead to incorrect process selection. This guide explains its core principles, process, materials, and industrial applications in a structured way. H2: What Is Laser Etching? H3: Engineering Definition of Laser Etching At its core, laser etching is a process that uses a focused laser beam to alter the surface of a material permanently. Un......
Coating vs Painting: Key Differences for CNC and Industrial Manufacturing
If you’ve worked in CNC machining or metal fabrication long enough, you eventually stop treating “coating vs painting” as a terminology debate. It becomes a design constraint problem. Because in real manufacturing, surface finishing is not applied at the end of the process—it directly influences whether parts assemble correctly, maintain tolerance, and survive in service environments. In many failed projects, the root cause is not machining accuracy, but an unaccounted coating system that changes geom......
How to Anodize Aluminum: Complete DIY & CNC Manufacturing Guide
Key Takeaways Anodizing grows an oxide layer from the aluminum itself instead of adding a separate coating on top. Type II anodizing is commonly chosen for appearance-focused parts, while Type III hardcoat anodizing is used more often on sliding or wear-prone components. Surface condition before anodizing still shows afterward. Tool marks, scratches, bead blasting, and polishing all remain visible. Hole sizes, thread fit, and sliding clearances can change after anodizing because the oxide layer grows ......
Sulfuric Acid Anodizing for Aluminum in CNC Manufacturing
Key Takeaways About Sulfuric Acid Anodizing Sulfuric acid anodizing is the most widely used anodizing process for CNC-machined aluminum parts. The process creates an integral oxide layer that improves corrosion resistance, wear resistance, and surface appearance. Coating thickness affects both performance and dimensional growth, making tolerance planning important for precision components. Aluminum alloy selection influences anodizing quality, color consistency, and final surface appearance. Type II s......