Broken Tap Removal Methods and When to Use Them
12 min
- What to Check Before Removing a Broken Tap
- Broken Tap Removal Methods
- What to Do After Removing a Broken Tap
- When Thread Repair or Part Replacement Is the Better Option
- How to Prevent Another Broken Tap
- FAQs About Broken Tap Removal
Key Takeaways
| Method | Best suited for | Main limitation |
|---|---|---|
| Pliers | Exposed tap stub with enough material to grip | May crush the stub or damage the surrounding surface |
| Tap extractor | Accessible flutes and a fragment that can still rotate | Extractor prongs can break if the tap is seized |
| Left-hand drill bit | A centered fragment that is not fully seized | May back out the fragment, but is not a reliable way to drill through hardened tap steel |
| Carbide end mill | Controlled removal on a rigid, accurately aligned machine | Misalignment or interrupted cutting can damage the thread |
| Welding | A protruding stub on a workpiece that tolerates localized heat | Unsuitable for many heat-sensitive parts and aluminum workpieces |
| Alum dissolution | A compatible aluminum workpiece containing a steel tap | Not suitable for incompatible workpiece materials or finishes |
| EDM | Flush, deep, shattered, or difficult-to-access fragments | Requires conductive materials and specialized equipment |
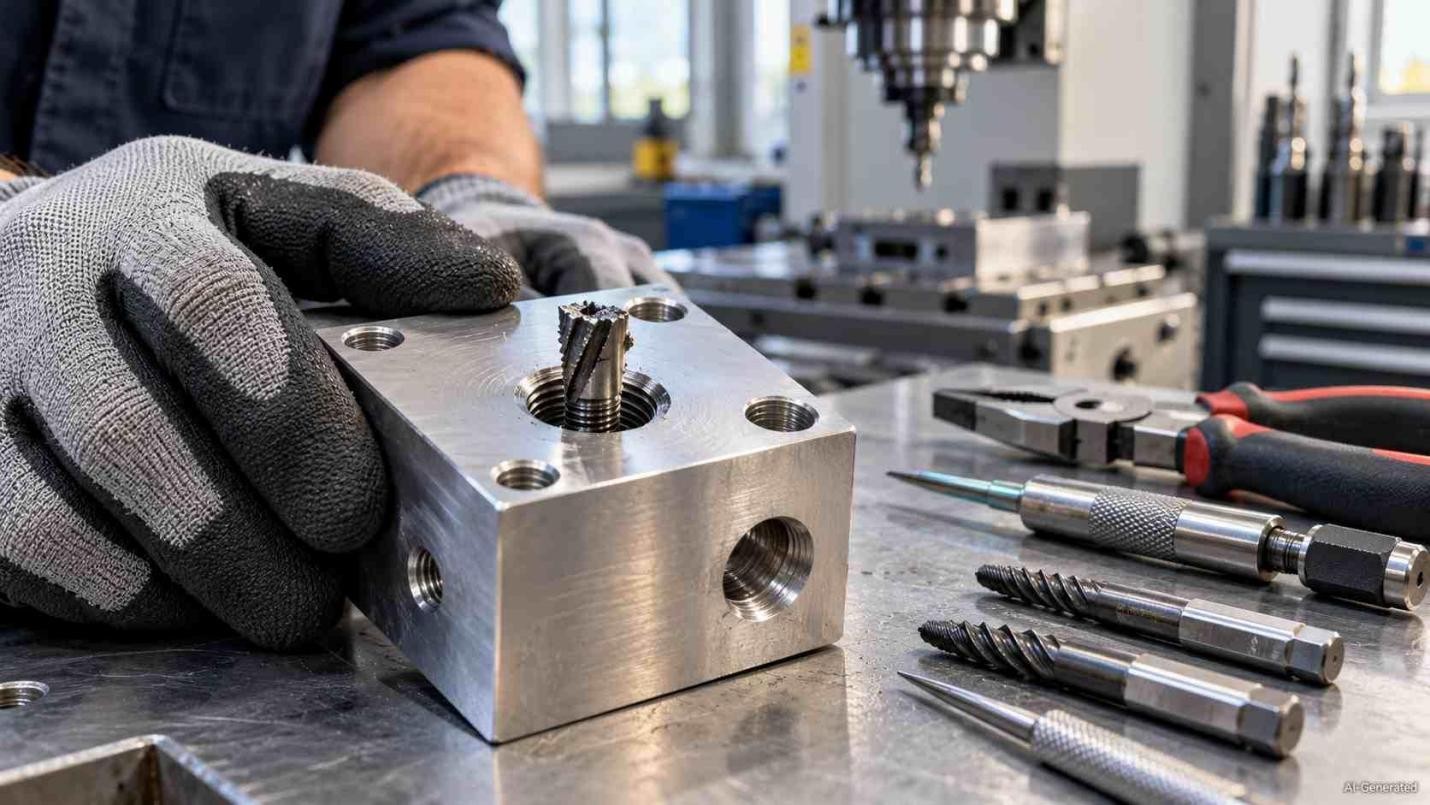
Broken tap stuck in a metal block with removal tools
A broken tap is especially costly when the workpiece is nearly finished. A standard HSS drill bit may not cut a hardened tap reliably and can deflect into the parent material, damaging the threads. Before attempting removal, determine whether the fragment protrudes, sits flush, or is recessed in the hole, and whether it remains intact or has shattered.
This guide compares the available methods and explains when each is appropriate.

Precision CNC Machining Service
If the part is not worth recovering, JLCCNC can quote a replacement precision CNC-machined component. Upload your CAD files for an instant quote and DFM feedback.
What to Check Before Removing a Broken Tap
Before choosing a method for a broken tap, first check if the fractured end is above the surface, flush with it, or deep inside the hole. After that, examine if the fragment is intact, shattered, or jammed by metal chips. This is because its condition affects the chances of freeing it. Tap size is critical too. Smaller diameters offer less room for gripping tools. Meanwhile, the number, shape, and condition of the flutes determine whether or not an extractor can engage.
Hole geometry is another concern. A through-hole may provide access from both ends. A deep blind hole limits working space. You also need to identify the tap and workpiece materials, their hardness, and their compatibility with heat or chemical exposure. Check if surrounding features restrict tool access or alignment. Last but not least, review the drawing's thread tolerances and damage limits. If the fragment is tightly seized, inaccessible, or the original threads cannot tolerate mechanical contact, broken tap removal may need a specialized process.
Broken Tap Removal Methods
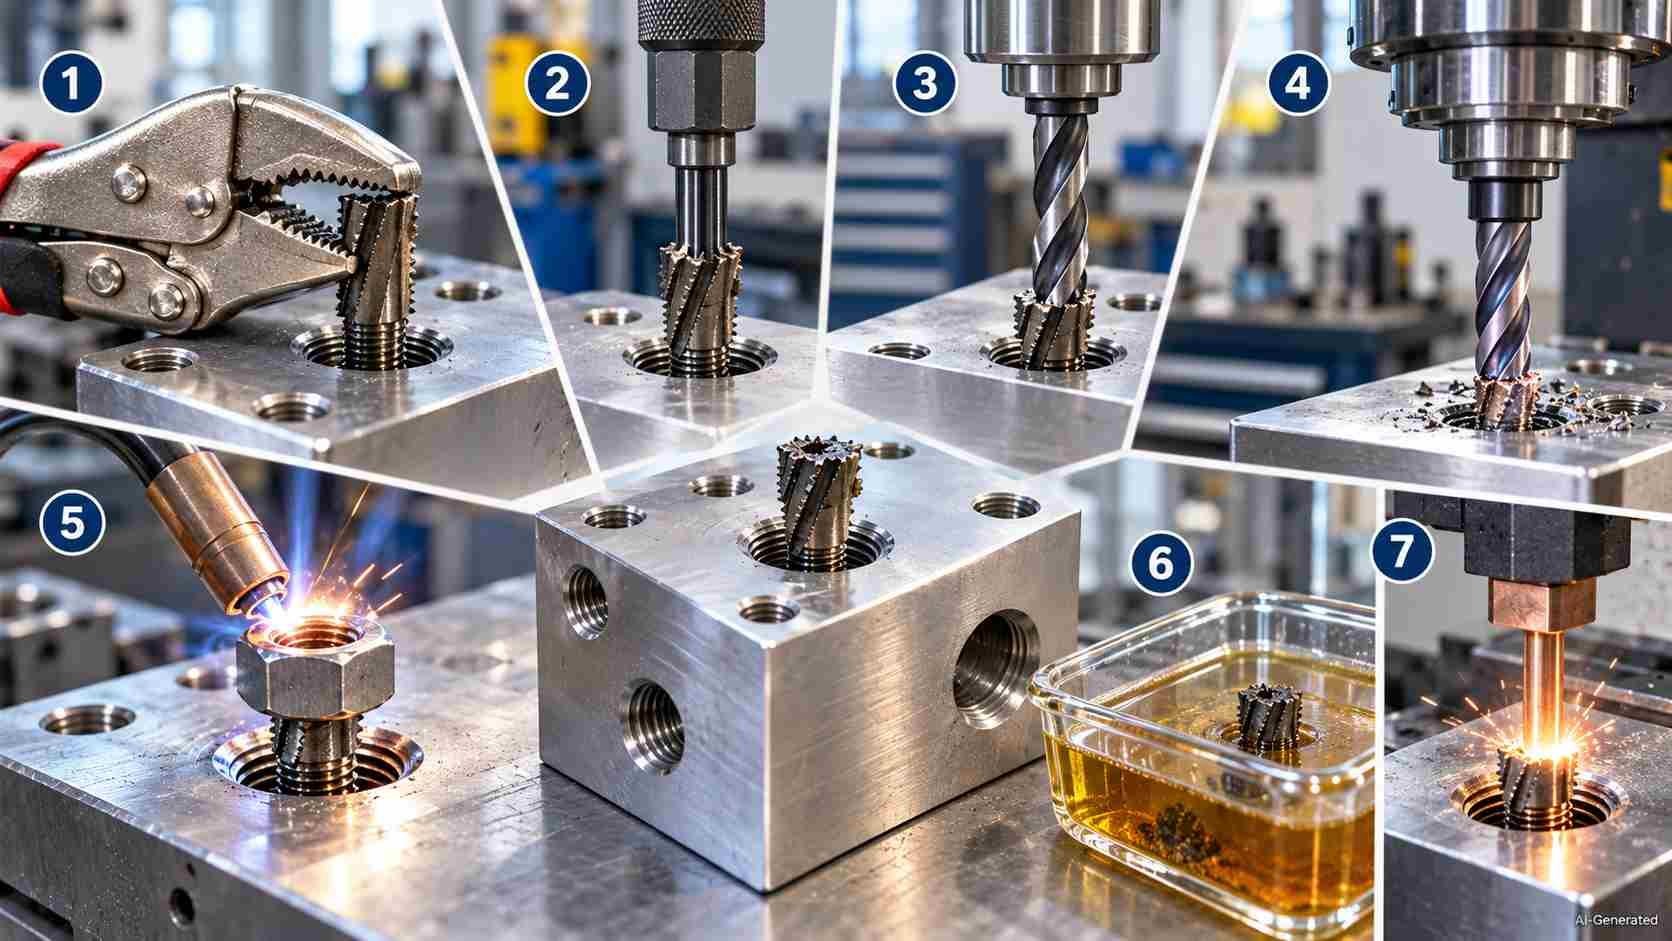
Seven broken tap removal methods illustrated
| Method | Best suited for | Main limitation |
|---|---|---|
| Pliers | Exposed tap stub with enough material to grip | May crush the stub or damage the surrounding surface |
| Tap extractor | Accessible flutes and a fragment that can still rotate | Extractor prongs can break if the tap is seized |
| Left-hand drill bit | A centered fragment that is not fully seized | May back out the fragment, but is not a reliable way to drill through hardened tap steel |
| Carbide end mill | Controlled removal on a rigid, accurately aligned machine | Misalignment or interrupted cutting can damage the thread |
| Welding | A protruding stub on a workpiece that tolerates localized heat | Unsuitable for many heat-sensitive parts and aluminum workpieces |
| Alum dissolution | A compatible aluminum workpiece containing a steel tap | Not suitable for incompatible workpiece materials or finishes |
| EDM | Flush, deep, shattered, or difficult-to-access fragments | Requires conductive materials and specialized equipment |
Remove an Exposed Tap with Pliers
Wondering how to remove a broken tap? Locking pliers may be the least invasive option when part of its shank extends above the surface. Grip the stub near its base. Apply light and steady counterclockwise pressure for a right-hand tap. A drop of penetrating oil may lower friction. Avoid rocking the pliers against the workpiece. The jaws could leave marks. Stub slips or refuses to move? You should stop applying force before it fractures deeper inside the hole.
Use a Tap Extractor When the Flutes Are Accessible
When pliers cannot reach the fragment but its flutes are open, a tap extractor can engage them without cutting the hole. Match the extractor to the tap diameter and flute count. Seat the extractor prongs fully in the tap flutes and keep them aligned with the fragment using the holder. Apply light counterclockwise torque with a tap wrench. If the tap begins to move, back it out gradually and ease off slightly if it binds rather than forcing continuous rotation.
Stop if the fragment does not respond to light torque or the extractor prongs begin to bend. The prongs are brittle, and a broken prong trapped beside the tap can make subsequent recovery more difficult. An extractor should engage a fragment that can be turned; it is not a way to force a fully seized tap out of the hole.
Try a Left-Hand Drill Bit When the Tap Is Not Fully Seized
A left-hand drill bit may back out a tap that is not fully seized because its counterclockwise rotation can catch the fragment and turn it out. It is not a reliable way to drill through hardened tap steel. Center the bit on the fragment and choose a diameter smaller than the tap's minor diameter so it stays clear of the thread flanks. Keep the workpiece rigidly fixtured. If the bit will not bite centrally or the tap does not begin to turn under controlled feed, stop rather than continue drilling into the surrounding material.
Use a Carbide End Mill for Controlled Mechanical Removal
For a firmly lodged fragment, a center-cutting carbide end mill can machine away its central section. This method requires a rigid milling machine, accurate spindle positioning, and a cutter that is smaller than the thread's minor diameter. Use shallow peck cuts and remove chips to limit tool loading. Carbide can machine hardened tap material. But note that interrupted contact may chip or fracture its cutting edges. Excessive vibration or sideways cutter movement indicates that machining should stop before the original thread flanks get damaged.
Use Welding Only When the Tap Stub Protrudes and the Workpiece Allows It
Welding may work when enough of the tap protrudes to attach a nut or gripping tab and the workpiece can tolerate localized heat. The attachment provides a way to apply reverse torque, but heat may alter the workpiece's heat treatment, damage coatings, or distort precision features. Weld metal can also bridge the tap to the surrounding material, making removal harder. Avoid this method on aluminum workpieces or heat-sensitive assemblies unless a qualified welding specialist has assessed the risk to the part.
Use Alum Dissolution Only for Steel Taps in Aluminum Parts
Use alum dissolution only when the fragment is confirmed to be a steel or HSS tap and the parent material and finish are compatible—most commonly an uncoated aluminum workpiece. The process is slow and requires controlled chemical handling. Do not treat it as a default method for steel, cast iron, unknown alloys, anodized parts, or coated parts without confirming compatibility first. If the finish or thread is critical, test a representative sample or use a specialist process instead.
Use EDM for Flush, Deep, or Shattered Taps
For anyone who is wondering how to get a broken tap out of a valuable component with limited mechanical access, electrical discharge machining (EDM) seems to be another special option. It makes use of controlled electrical sparks to erode the fragment without direct cutting pressure. Both the broken tap and the workpiece must be electrically conductive. With the use of an appropriate electrode and flushing system, EDM can tackle deeply embedded or shattered fragments, including those in blind holes. Nonetheless, poor electrode positioning might damage the original threads. Moreover, the process requires specialist equipment.
For conductive workpieces that require specialized material removal, review JLCCNC's EDM machining capabilities and process limitations.
What to Do After Removing a Broken Tap
Once the broken tap is out, the next step is to check if the threaded hole satisfies the specs. Remove metal fragments, chips, and residue with the help of a brush, vacuum, or controlled air supply. Subsequently, examine the internal threads under good lighting or magnification for burrs, cracks, flattened crests, and damaged flanks. Compare the hole against the engineering drawing. Check the specified thread diameter, pitch, tolerance class, and engagement depth.
Use measuring instruments to verify accessible dimensions, including the minor diameter where needed. For thread acceptance, select calibrated GO and NO-GO plug gauges matching the drawing specifications. The GO gauge should engage the required threaded length by hand. The NO-GO gauge must not exceed the entry limit that is defined by the applicable standard. Successful broken tap removal does not just imply that the part is acceptable. Production can continue only when the remaining threads satisfy the inspection criteria.
When Thread Repair or Part Replacement Is the Better Option
Suppose a broken tap has damaged the internal threads. In this situation, further extraction attempts might leave less material available for repair. Before you continue broken tap removal, you should consider whether the remaining wall thickness and thread engagement can support the clamping force, vibration, and operating loads. When enough material is available, a wire-thread insert or solid threaded bushing might restore the original fastener size.
Alternatively, an oversized thread may work if the design permits a larger bolt. However, each option needs sufficient machining allowance and must meet the engineering drawing's requirements. Part replacement may be preferable if cracks extend into the surrounding metal, the hole is too close to an edge, or the connection carries critical structural loads. Cost is critical too. If additional machining, specialist labor, and approval requirements cost more than manufacturing a replacement component, further recovery efforts may not be worthwhile.
How to Prevent Another Broken Tap
A broken tap points to a machining issue worth correcting. Check the drilled-hole diameter against the thread size and pitch, using the recommended drill size for the selected tap and material in JLCCNC's Drill and Tap Chart. An undersized hole increases cutting torque. A shallow blind hole may leave insufficient space for the tap chamfer and chips. Next, select a tap for the material and hole design. Spiral-point taps direct chips forward in through-holes. Spiral-flute taps draw them upward from blind holes.
Check tool alignment, holder runout, and workpiece clamping in order to avoid uneven cutting loads. Apply the lubricant and cutting speed for the material. Make sure that the axial feed matches the thread pitch during rigid tapping. During production, watch for poor chip evacuation, unusual spindle loads, and worn cutting edges. JLCCNC's Tapping in Machining guide covers these settings.
Reviewing the tapping process can reduce repeat tool failures and the need for further recovery work. If thread damage leaves the part beyond economical repair, submit your CAD file to request a replacement part.
Precision CNC Machining Service
Professional manufacturing, fast turnaround, and quality assurance.
FAQs About Broken Tap Removal
How Do You Get a Broken Tap Out of a Hole?
Determine if the fragment can move without excessive force. Accessible pieces may respond to manual extraction. On the other hand, deeply embedded fragments need specialized equipment. The goal is to free the obstruction with minimal impact on the workpiece.
Can You Drill Out a Broken Tap with a Regular Drill Bit?
A standard HSS drill bit generally will not cut through a hardened tap reliably. It may deflect into the surrounding material and damage the thread. If mechanical removal is necessary, use suitable carbide tooling in a rigid, accurately centered setup, or consider EDM for a difficult fragment.
Can EDM Remove a Broken Tap from a Blind Hole?
Yes. EDM can remove a broken tap from a blind hole, provided both the tap and the workpiece are electrically conductive. The electrode must reach the fragment, and its depth must be controlled carefully to avoid damaging the thread. Effective flushing is also needed to remove debris from the hole.
Can You Reuse the Original Thread After Removing a Broken Tap?
Yes, provided the remaining thread meets the drawing's dimensional and functional requirements. Verify the thread with the specified GO and NO-GO gauges, then inspect for local damage that could reduce load capacity or affect function. A gauge pass alone does not establish that visibly damaged threads are acceptable.
When Should You Stop Trying to Remove a Broken Tap?
Stop if the fragment does not move under light, controlled torque, the tool begins to slip or deform, or further attempts risk damaging the parent material. At that point, compare professional EDM recovery, thread repair, and part replacement before continuing.
Popular Articles
• End Milling Explained: Types, Uses & Best End Mills for Metal & Wood
• End Milling vs Face Milling: Key Differences, Tools & Applications
• CNC Tooling 101: Choosing the Right End Mills and Cutters
• How to Choose the Right Cutting Tool Material (CNC & Lathe Guide)
• A Complete Guide to Tool Wear Detection and Maintenance in CNC Machining
Keep Learning
Broken Tap Removal Methods and When to Use Them
Key Takeaways Method Best suited for Main limitation Pliers Exposed tap stub with enough material to grip May crush the stub or damage the surrounding surface Tap extractor Accessible flutes and a fragment that can still rotate Extractor prongs can break if the tap is seized Left-hand drill bit A centered fragment that is not fully seized May back out the fragment, but is not a reliable way to drill through hardened tap steel Carbide end mill Controlled removal on a rigid, accurately aligned machine M......
CNC Probing Guide: How CNC Probe Systems Work, Applications, and Benefits
Key Takeaways About CNC Probing CNC probing is on-machine measurement that replaces or reduces manual setup and inspection steps. A CNC probing system combines a probe body, stylus, signal transmission, and controller integration to measure workpiece position, tool length, feature dimensions, and surface location. CNC probing solutions range from basic workpiece location routines on a manual machine to fully automated in-process verification in unattended manufacturing cells. CNC probing simulation le......
Drill Point Angle: Selection, Materials, and Drilling Performance
Key Takeaways About Drill Point Angle A 118° point is used most often in steel and aluminum jobs because it drills without special setup changes on standard machines. 135° points show up more in stainless and tool steel work since they keep the drill from pushing hard at the center during entry. In aluminum and similar ductile materials, chips often come out in long strands when the point geometry does not support breakage. Hole entry stays more consistent when the drill point matches the material ins......
Jig vs Fixture: Key Differences and Applications in Machining
(AI generated) Drilling jig with guide bushings and CNC machining fixture holding a metal workpiece on a machine shop workbench. If you ask three machinists to explain the difference between jigs and fixtures, you’ll likely get three different answers. It’s one of those things that gets mixed up constantly, especially by anyone who isn’t actually standing at the machine. But when you’re planning a setup, that distinction becomes critical. How you hold a part changes everything: alignment, repeatabilit......
Types of Taps: How to Choose the Right Thread Tap for CNC Machining
(AI generated) Close-up of a thread tap cutting internal threads inside a metal workpiece. Tap breakage during blind hole threading is one of the most common production disruptions. This guide explains the different types of thread taps used in CNC machining and provides practical selection advice based on hole type, material, and machining conditions. What Is a Thread Tap and How Tapping Works What Is a Thread Tap? A thread tap is a cutting tool used to create internal threads inside a pre-drilled ho......
CNC Tooling 101: Choosing the Right End Mills and Cutters
Introduction: The Unsung Heroes of CNC Machining In CNC machining, precision doesn’t start with the machine—it starts with the tooling. Choosing the right end mills and cutters determines not only the surface finish and dimensional accuracy but also the machining time, tool life, and overall production cost. Many machinists and engineers underestimate how much tooling affects performance. Whether you’re shaping aluminum, cutting stainless steel, or milling engineering plastics, the right CNC tool can ......